

PTO Install: How to torque PTO bolts
There are many different types of equations and calculations that are useful during the design of a power take-off. These range from equations for estimating bearing life, to gear separating forces, to spline stress, to clutch capacity, etc. Many of these are of interest only to the PTO designer, but there is one equation directly impacted by the individual under the truck installing the PTO.
That equation is
F = (T×12) / KD,
otherwise known as the bolt torque/tension equation. The functions are as follows:
F = Clamping force (lbs.),
T = Torque (ft. lbs.),
D = Fastener Diameter (inches),
K = Torque Coefficient.
The equation says that the clamping force created by a bolt is the torque applied divided by the diameter of the bolt times the torque coefficient (friction between the threads, and under the bolt head or nut). Measuring fastener tension directly is not feasible while installing a PTO, hence the use of fastener torque to best estimate the clamping force.
In simpler terms, if the cap screw is insufficiently torqued, the clamp force holding the PTO to the transmission is also insufficient. Under-torquing also reduces the amount of stretch in the cap screw, which further reduces its effectiveness.
From a practical standpoint, this means there is a linear relationship between the torque applied to the cap screw and the clamp force created as a result.
In a perfect installation, the cap screws (or studs) squeeze the PTO housing against the transmission so tightly that there is never movement between the two. Any amount of relative movement between the PTO and the transmission will cause the bolts to loosen and/or break. This may seem obvious, and telling someone to torque the cap screws on a PTO is far easier said than done, but this is the reasoning behind torque specifications.
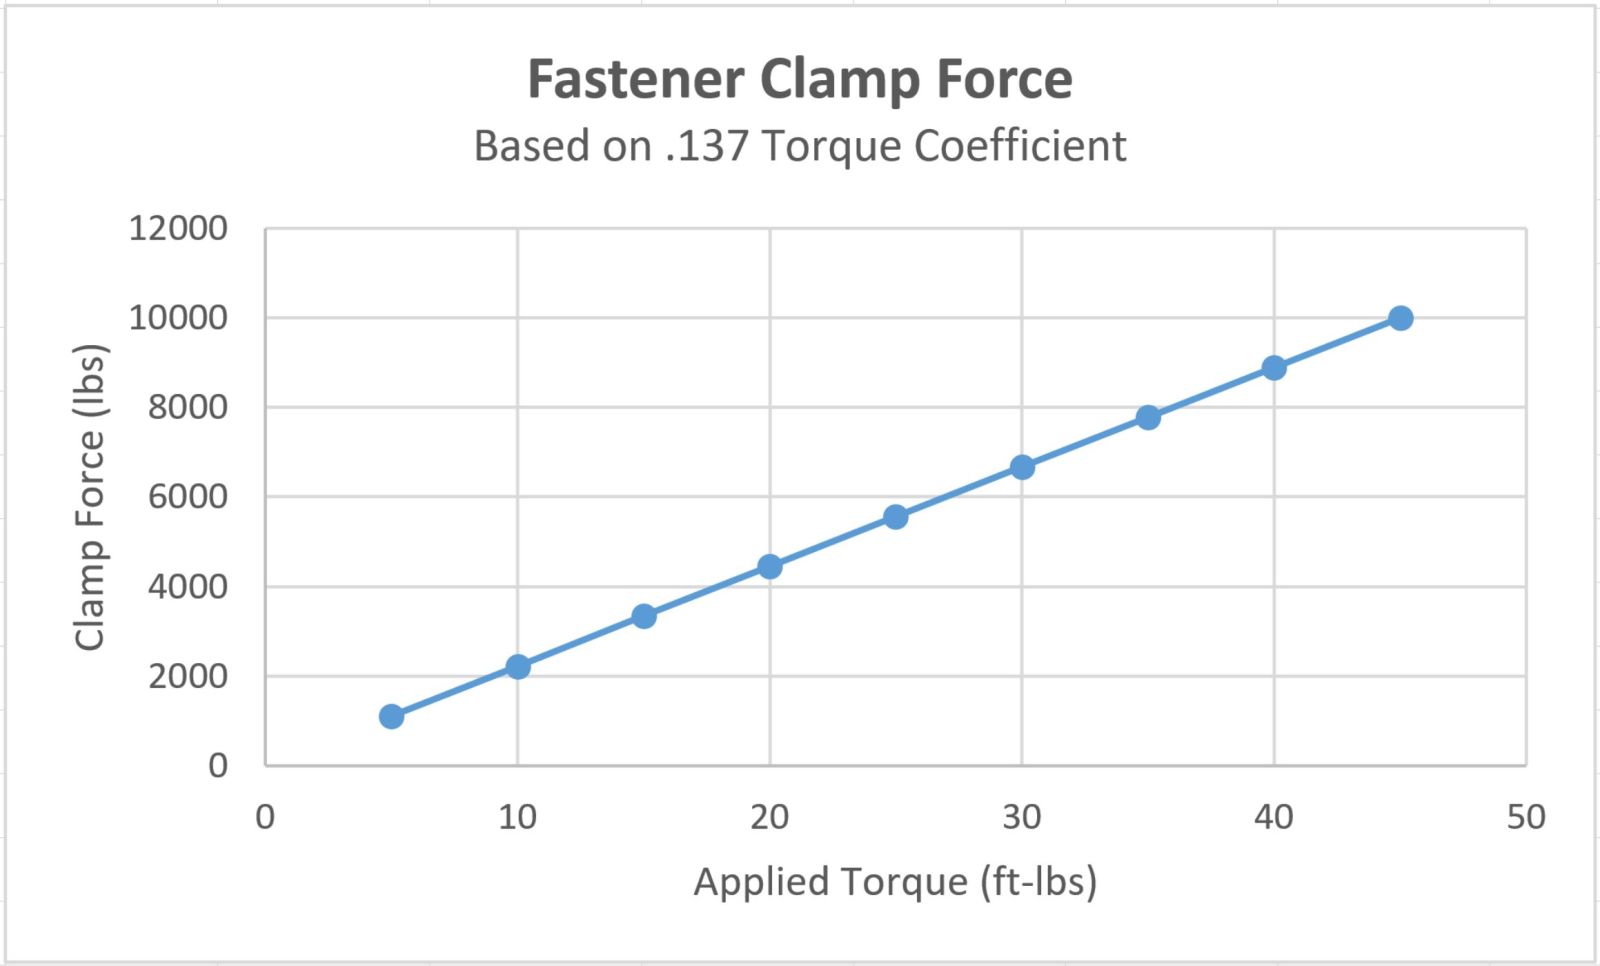
Figure 1. The above chart shows the estimated clamp force of an M10 capscrew, based on an applied torque.
Over-torquing the PTO fasteners will either pull the threads out of the transmission or will cause the fastener to plastically deform. The torque specifications and fasteners provided with the PTO offer the maximum clamp force, without risking damage to the transmission or fasteners.
VIDEO: A20 Series PTO Installation
FACTORS THAT CAN IMPACT FASTENER INSTALLATION
(Loctite, oil in holes, lock washers, etc.)
Some additional factors can also impact the clamp load during cap screw installation.
One of the most common is the addition of a liquid thread locker to the cap screws. Thread locker serves as a lubricant during initial installation, which increases the clamp load, as the friction between the threads is reduced. Not all adhesives are compatible with plated or coated fasteners; so, consult with the adhesive manufacturer to confirm compatibility.
Anaerobic adhesives, such as Loctite®, require contact with a ferrous material to trigger the curing process, or an activating agent or primer must also be applied. The holes in the transmission must be clean and free of oil as well. It is critical that the cap screws be torqued to spec before the locking agent has cured. If they are not, torquing after it has cured will result in a false positive; which means that the bolt appears torqued, but will not provide the necessary clamp load. The same applies to cap screws with epoxy lock patches applied from the factory.

Figure 2. Muncie Power capscrews with factory-applied patch.
Lock washers can also impact the clamp load from the fastener. Types of lock washers that physically dig into the PTO housing or cap screw will reduce the clamp load. This is because the friction added by the washer increases the torque coefficient, which means a significant portion of the torque being applied to the bolt is to overcome the friction from the washer and is not going to stretch the cap screw. Unless included with the PTO, Muncie Power does not recommend lock washers be added, for this reason.
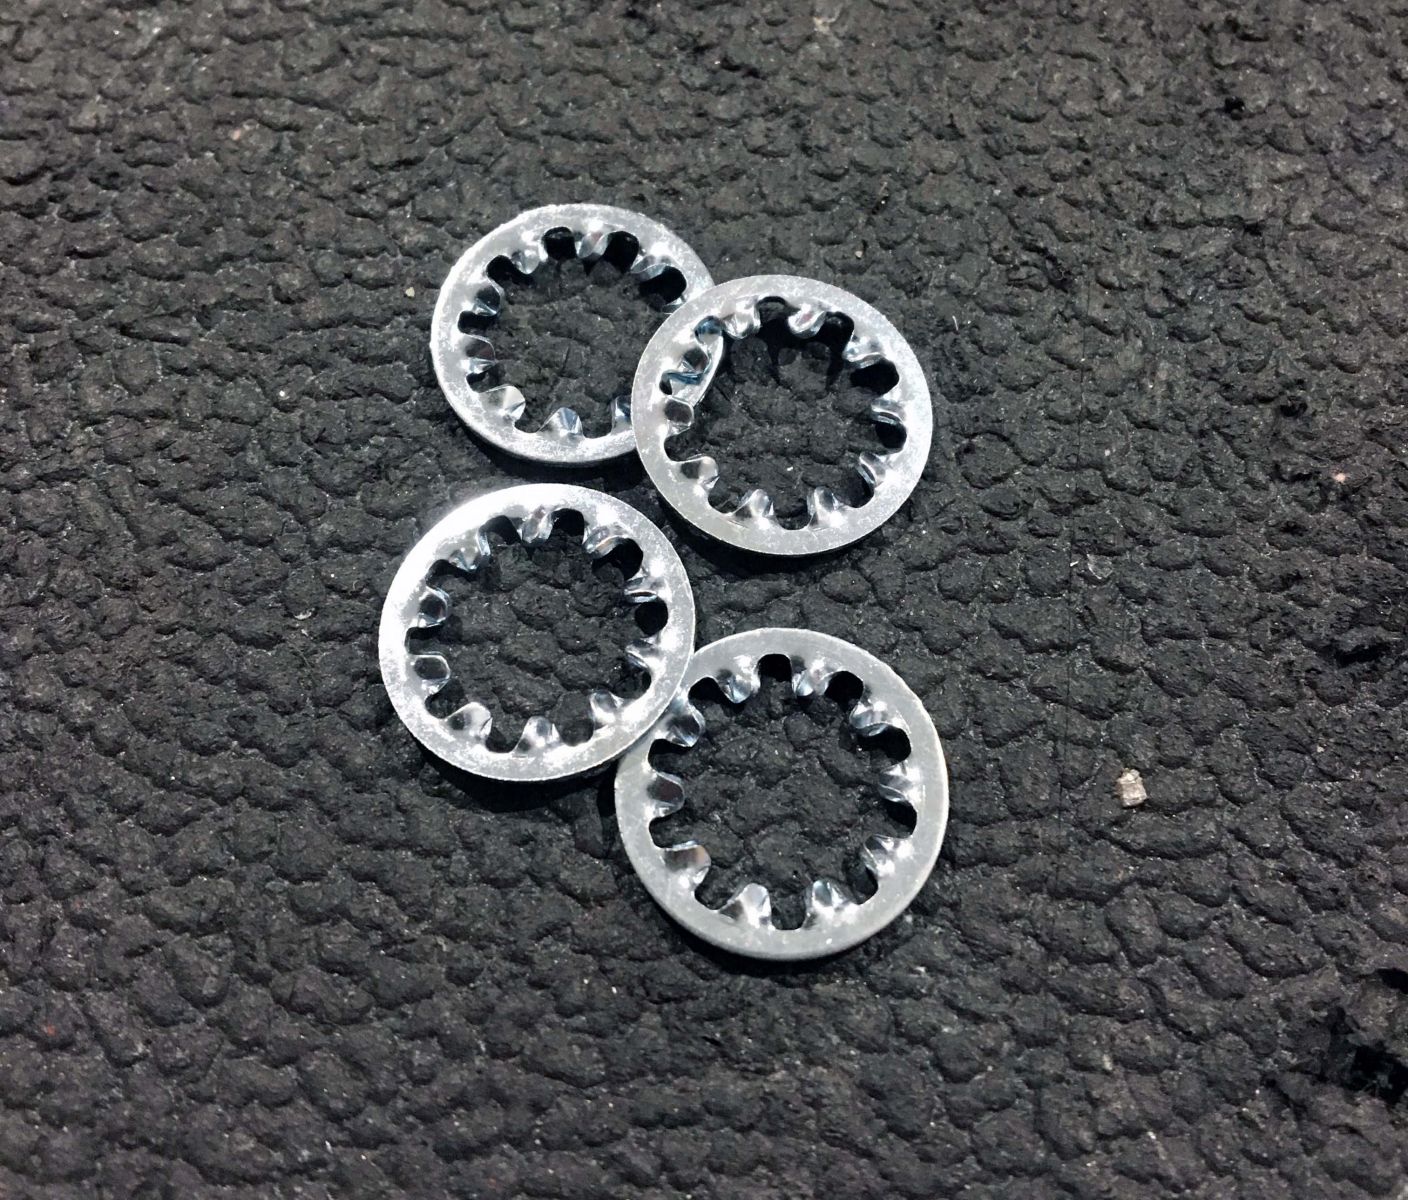
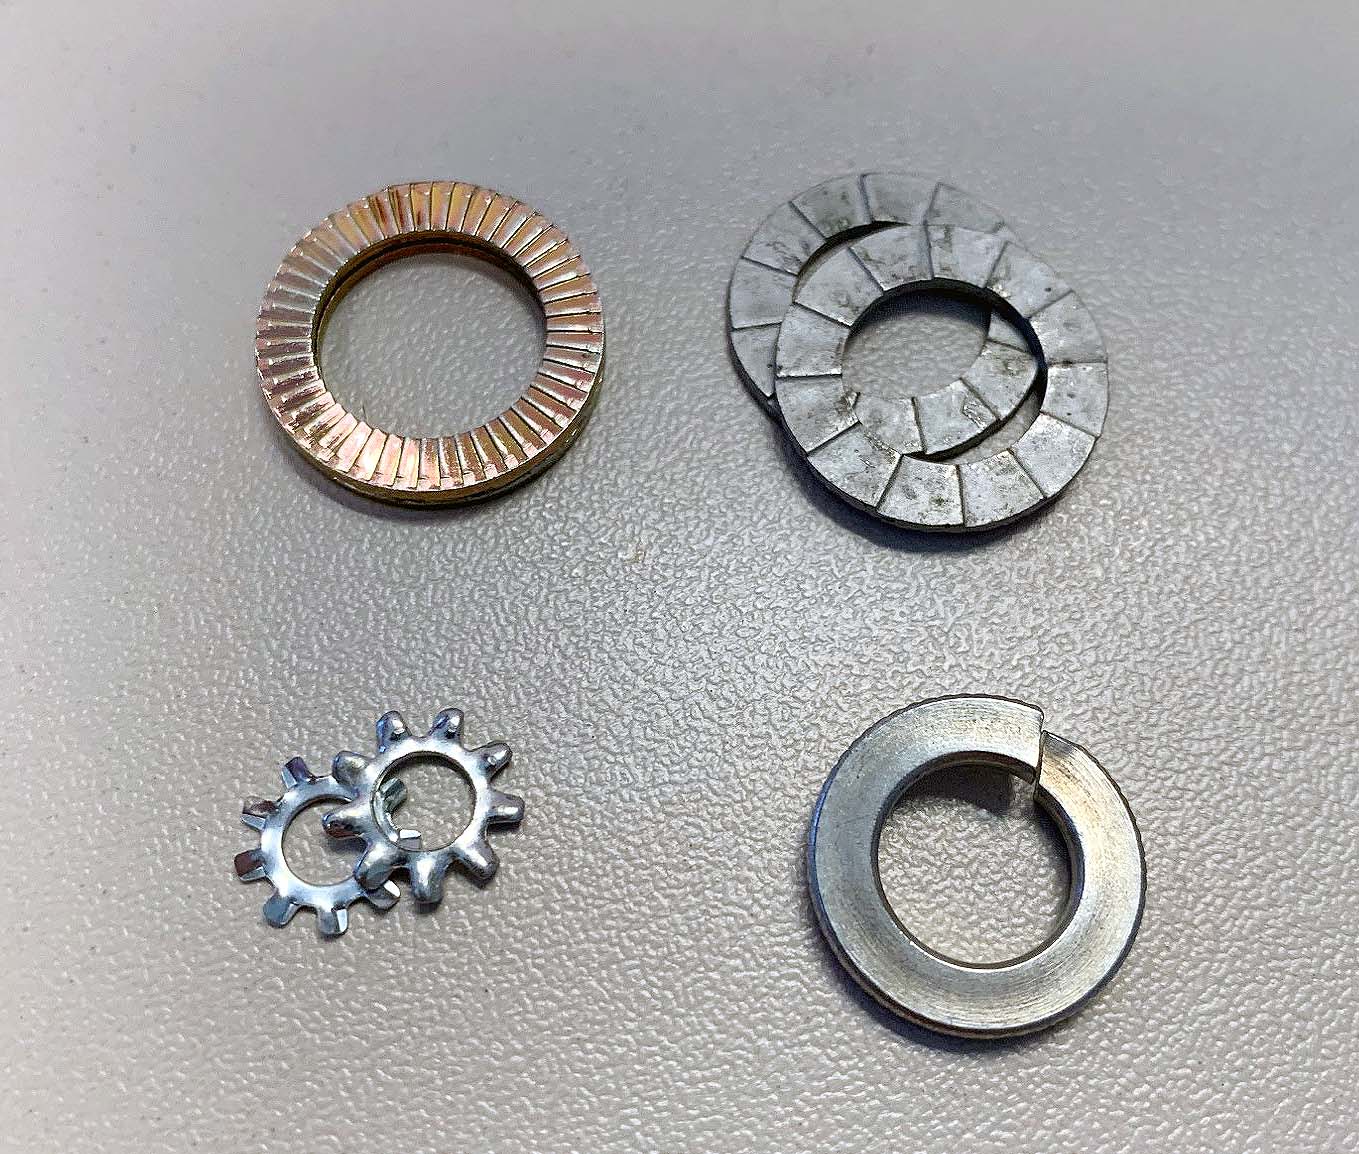
Figure 3. Various types of lock washers.
HOW TO TORQUE
The types of tools required to properly torque the mounting fasteners vary somewhat based on PTO and transmission type, but generally speaking, are fairly similar.
A standard adjustable torque wrench can be used on all the mounting fasteners on a PTO with the proper adapters and extensions. Torque wrench accuracy is typically best in the middle to high end of the adjustment range, so one that has the PTO spec somewhere between 20% and 100% of the range is recommended.
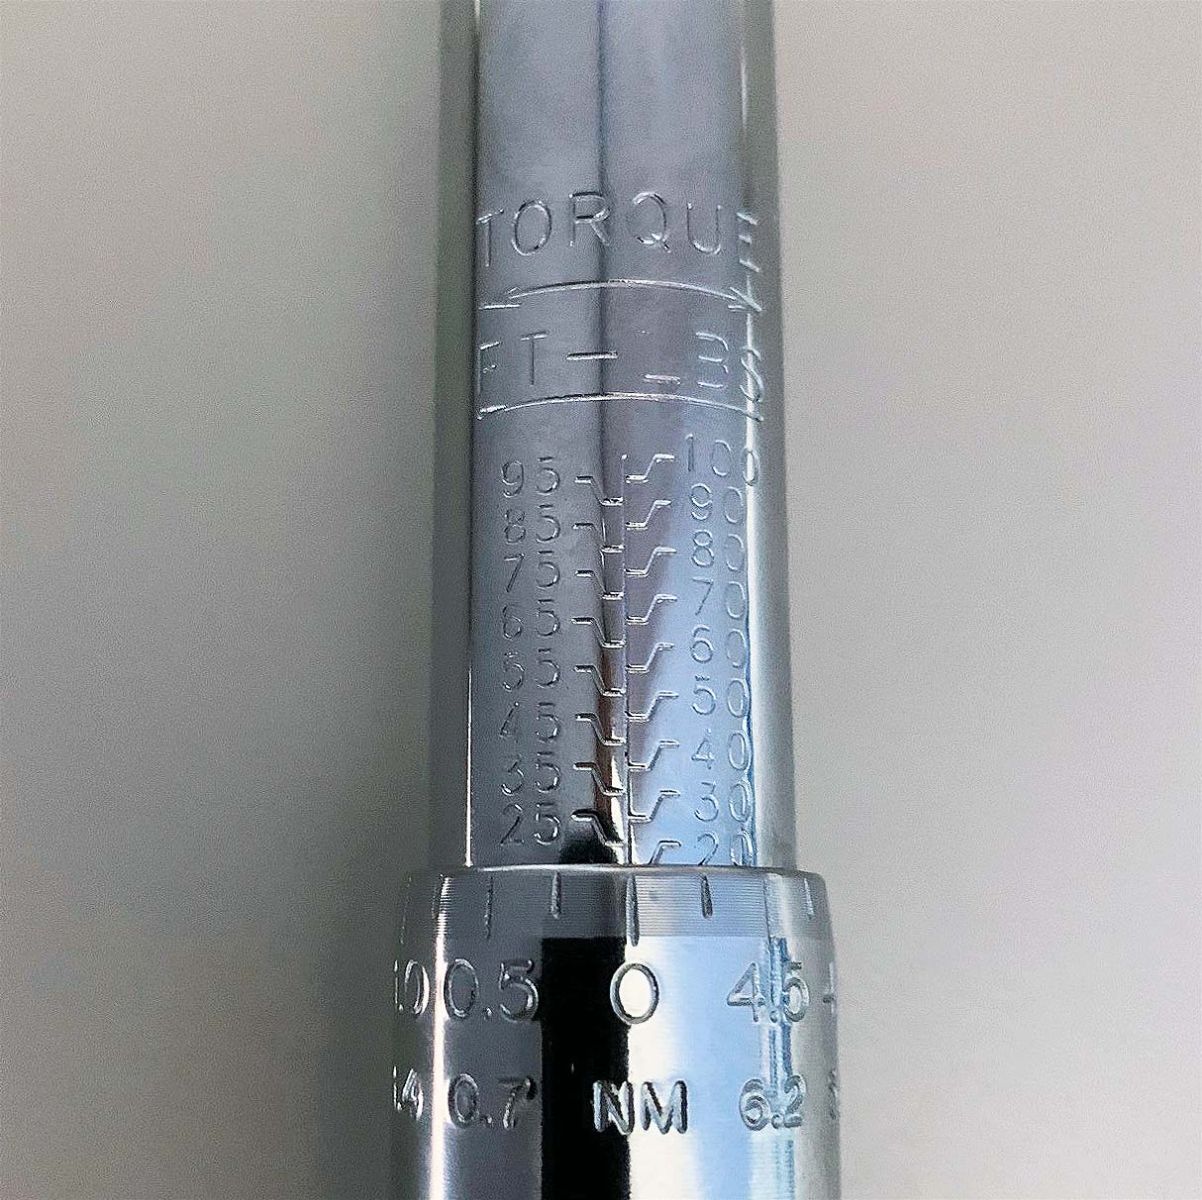
Figure 4. Torque wrench showing adjustment range of 20–100 ft. lbs.
For 10-bolt PTOs, such as the A20 and A30 Series, a 10 mm torque adapter with a 1.5" extension will reach all eight cap screws. For 6-bolt and 8-bolt PTOs, a 9/16" torque adapter and socket can be used.
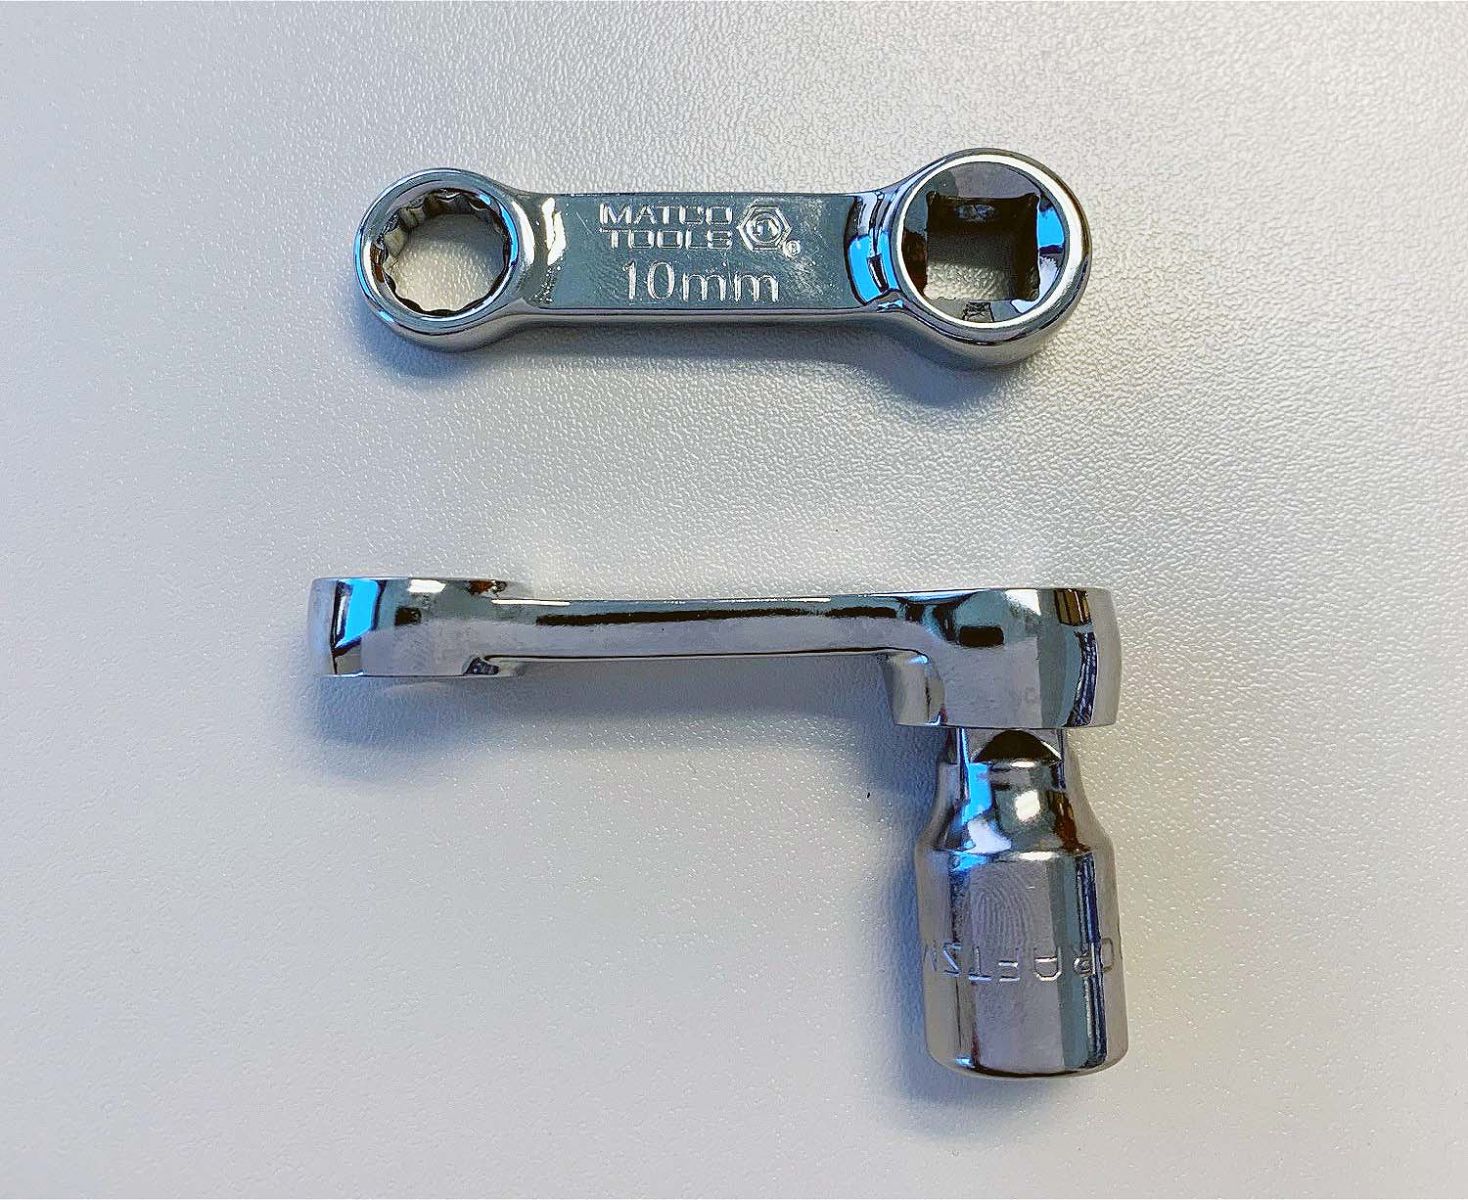
Figure 5. Two types of torque adapters.
THINGS BESIDES TORQUE THAT MAY IMPACT PTO BOLTS
There are factors that can cause a PTO to loosen, even if the PTO has been installed and torqued properly.
The most common is a lack of a support bracket on a direct-mounted pump. Muncie Power requires a bracket to be used on pumps that weigh more than 40 lbs., including all fittings, hoses, etc. The bracket must connect using two mounting points on both the pump and transmission and must be vertically rigid.
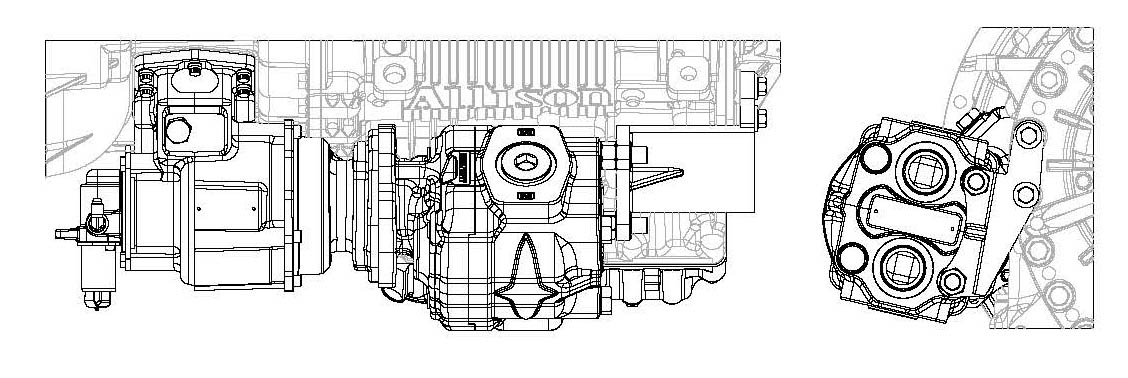
Figure 6. Example of pump bracket design on Allison transmission.
RELATED: Pump Support Bracket Implementation and Design
The second most common factor that can cause PTO mounting fasteners to loosen is an improperly installed driveline. The driveline must be (1) balanced, (2) have the correct joint angle, and (3) the ends must be in phase. If any of those three requirements are not met, severe vibration can result, which will result in damage to the PTO, the driven equipment, or both.
RELATED: Importance of properly torquing your PTO
PREVENTIVE MAINTENANCE: DO FASTENERS EVER NEED TO BE RE-TORQUED?
As stated in the installation manual, under the PTO maintenance section, for Muncie Power PTOs, you will need to recheck the installation of the PTO within the first week of use. Check for leaks and loose mounting hardware (studs, cap screws, nuts), and recheck the cable or lever connections for proper adjustment and tighten any loose connections. At regular maintenance intervals, check adjustments and lubricate moving parts, tighten and repair the connections, mounting hardware, cable, or lever linkages.
It is also recommended that the operator/owner do a visual inspection for leaks under and around the vehicle and equipment before entering or starting the equipment on at least a weekly basis. Any leaks found should be corrected immediately.
For peace of mind, witness marks can be added to torqued fasteners during installation, which can then be visually inspected during routine maintenance.
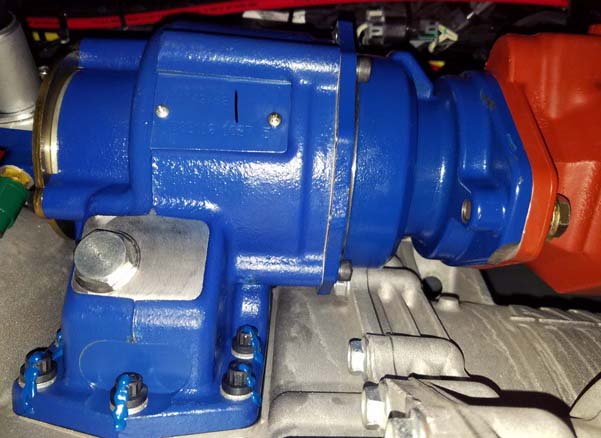
Figure 7. PTO installation with witness marks painted onto torqued capscrews.
If the PTO is removed for any reason, it is best practice to reinstall using new fasteners, and torque to spec as described in the installation manual.
Please be sure to always reference and follow the installation and maintenance instructions included with your PTO
To keep this article nearby and use it for future reference, click here to download the PDF version.